Printing beautiful paper products for your event is super-easy and can typically be done right from your home or from a nearby print shop.
This guide provides a step-by-step set of instructions you can follow in order to produce the perfect printable materials for your wedding (or other event). You can use this guide for printable place cards, invitations, save the dates, programs, menus, and more!
Big picture
This guide is broken out into sections which roughly correspond to the process of DIY printing your invitations/spotify plaque cards/etc.:
- Budgeting
- Choose (or create) a design/template
- Decide where you're going to print
- Choose your paper
- Test your prints
- Cut it up (if necessary)
- Celebrate!
You can use the links above to navigate this content.
Budgeting
One of the biggest benefits of DIY printing is the money you'll save
Your costs will largely depend on what you're printing, the size of your wedding/event, and the quality of materials you choose. Your print costs could range from practically free—for a homemade or free template on basic paper—to $100 or more—for very large events or very fancy paper. Here's a typical cost breakdown of what you can expect to pay for the various components:
| Design | Free—$20 | | Paper | $10—$50 per 100 sheets | | Print Costs (shop or ink) | $20 per 100 sheets | | Cutting Tools | Free—$20 | | Total | $30—$100+ |
Choosing a printable template / design
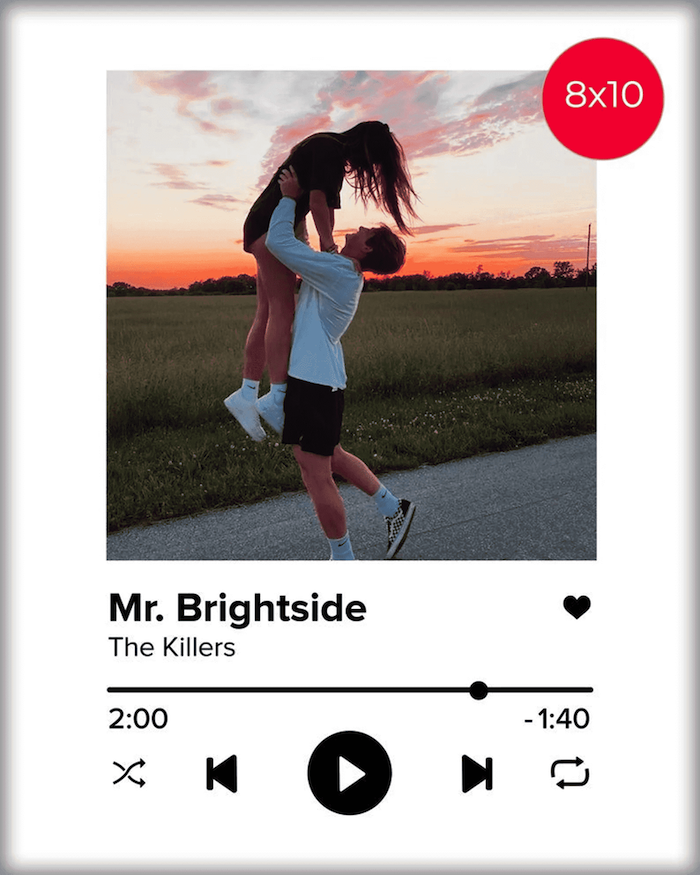
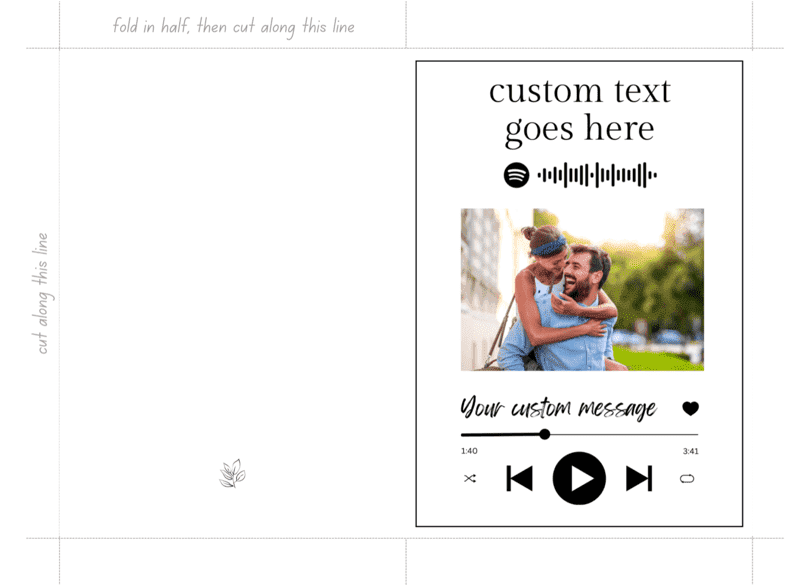
If you haven't already chosen a design, go do that first and come back when you're done! There are loads of great designs to match the style and flavor of you and your event. Just search what you're looking for (e.g. "printable spotify plaque card template" or "printable spotify plaque cards rustic") on your favorite search engine or marketplace and come back when you've picked something. If you don't have a favorite marketplace, Etsy is a great place to start, and if you happen to be printing spotify plaque cards we recommend our easy-to-use spotify plaque maker.
Deciding Where to Print
You've basically got three options when it comes to picking where to print:
- At home
- At a local print shop
- Online
Picking one is mostly a matter of personal preference. If you already have a great printer and are comfortable using it then home is a good bet. If you don't own a printer or haven't done a lot of DIY printing before then it's usually easier to do it at a print shop. Finally, if you've got time and/or extremely specific requirements then you might want to order your prints online.
Generally we recommend printing at a local shop for most use people. You will pay a bit extra for the print outs compared to doing it at home, but the access to high quality printers and expertise can be invaluable. Again, just search for printing shops near you and find one that can help you. Bonus: many print shops can also often help you choose a paper as well.
This guide isn't primarily aimed for people who are printing online and we don't have first-hand experience with online print services so won't recommend any specific ones here. However, there are loads to choose from and they can easily be found on Google if you want to go that route.
Choosing the Right Paper
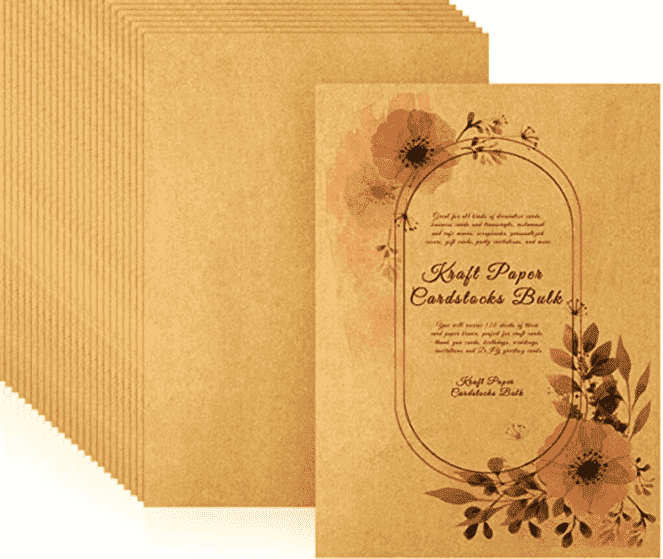
This brownish "paper-bag" style stock (often called "kraft") can be great for rustic weddings.
The next step to printing is to pick your paper. For printable place cards, invitations, or menus you will typically want a thicker paper, also known as card stock, although you have a variety of options to pick from.
We've got lots of details below, but if you're in a hurry we recommend getting a white, letter-sized card stock with a matte finish.
Amazon has a wide-selection of quality card stock paper, including this great option.
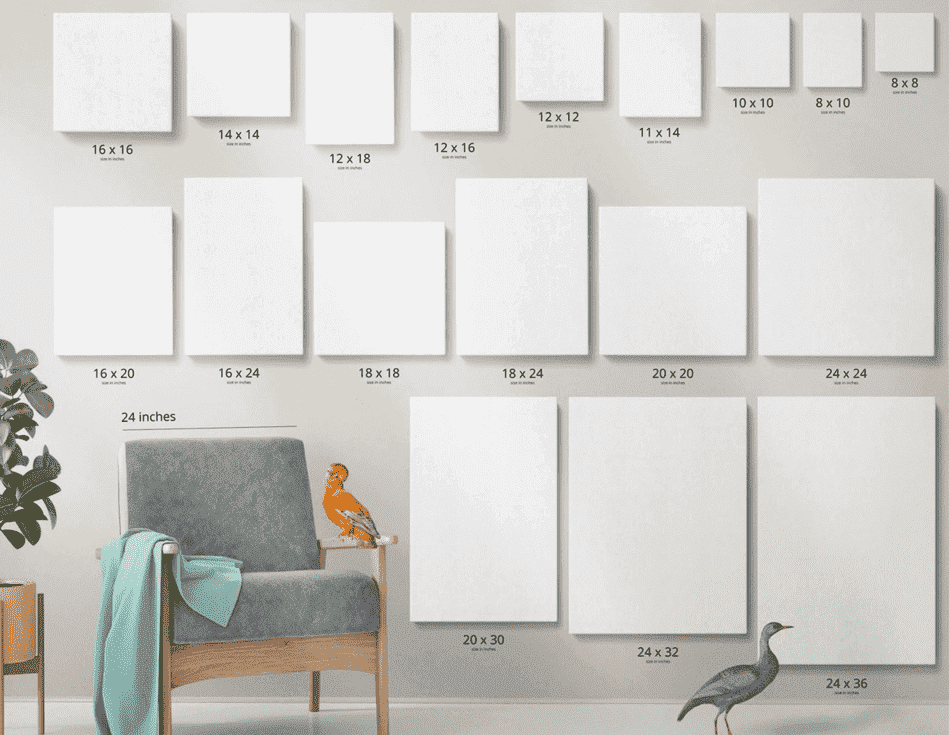
Paper Size
Paper comes in all shapes and sizes and they all have hard-to-remember coded names. The most common paper size is called standard letter paper, and in North America it's 8 1/2 x 11 inches (internationally it is called A4 and slightly longer and narrower). Generally most templates you find online will support a standard letter option, so this is our recommended option, however if your template came with specific paper recommendations be sure to use those!
Material
Your first choice is picking a material. The two common types of material for stationery are normal paper card stock and cotton or linen-based paper (sometimes also known as vellum). The largest difference between the two options is cost—cotton is typically about 1.5 to 2x as expensive as traditional paper. However, cotton or linen-based paper can also be harder to work with and more likely to bleed with home-printing.
You can expect to pay about $15-20 for 100 sheets of card stock paper, and $30-40 for 100 sheets of cotton stock.
Color
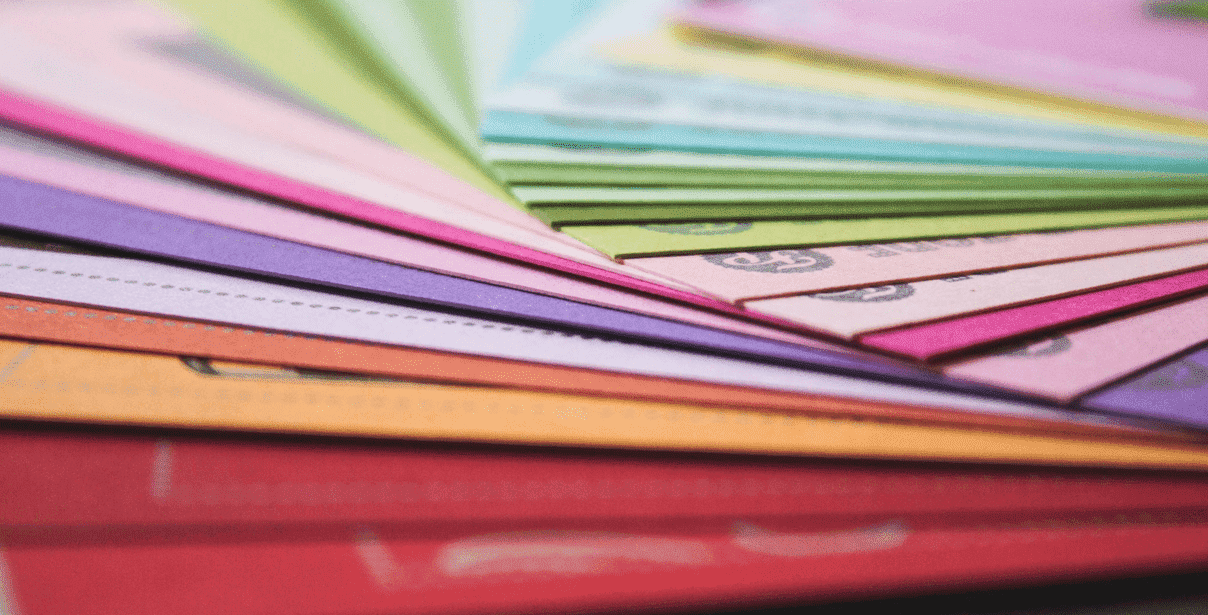
Colorful paper looks great, but it can be a challenge to print on.
Card stock comes in all sorts of colors, and generally you should pick the one that best matches your wedding's theme. However, keep in mind that the darker the paper, is the harder it will be to print on. Printing white ink on dark paper is notoriously finicky and we don't recommend it!
If you're not sure about what to pick, the simplest thing to do is choose a plain white color, though a natural "grocery-bag" like color can look quite nice for a rustic wedding. This style of material is sometimes known as "Kraft".
Finish
The two most common finishes are matte and gloss. Matte finish has a more natural feel while gloss finishes are more... well... glossy (think photos). Matte is typically more versatile and easier to use than glossy—which can bleed on lower quality printers.
Testing your prints
Once you've chosen your paper it's time to get testing! You should always make sure to test the print outs on single sheets until you are happy with them before printing the whole batch. You might even want to start by printing on standard paper until you are happy with the layout and sizing before moving to your card stock. Then you should test print on your real paper and make sure there are no issues with the equipment or quality before finally printing the whole batch.
Print Options
Printing can be intimidating—there are tons of options and it's not always clear what to pick! This section covers a couple of the most common options.
One nice thing about going with a print shop is that they will be able to make a recommendation for you based on the template and their equipment, which can save a lot of hassle figuring out layouts and options. However, if you decide to go it on your own here are some tips.
Using the right size and layout
In most cases the easiest way to format your paper is to simply use your computer's "autofit" option in the print dialog, which is typically smart enough to handle scaling and paper layout for you.
If auto-fit isn't working then use common sense or any printing instructions that came with your template. For example, if the template is horizontal then you should probably print in landscape mode. Also keep in mind that for most printers, the printable area of a page is not always the full size of the template.
Other Printer settings
Your printer will have a specific set of settings and it is impossible to cover them all, but here are a few tips for common options:
- Unless you have a good reason not to, you should choose the highest quality possible.
- Generally using color mode (even if your template is mostly black, white and grey) will result in higher quality prints
Cut it up
For most printable invitations, save the dates, place cards, or other wedding/event materials you will be printing out more than one item per page, and will need to cut them. If you are printing full-page materials you can skip this section.
We strongly recommend investing in a paper cutter if you are going to be cutting more than 10 or 20 sheets. They will save you loads of time and make it much easier to generate a straight, clean, perfect cut. You don't need a fancy one—the low-end models that go for about $20 in most stationery/art/hobby stores should get the job done.
If you're going to do a lot of cutting (like for place cards) it's worth investing in a paper cutter.
If you don't want to buy a paper cutter your next best option is a ruler and an X-ACTO or box-cutting knife. Metal rulers are better as the knife will actually cut through a plastic one—ruining the straight-edge—if you're not careful.
We do NOT recommend using scissors as it's pretty much impossible to get a straight cut longer than a few inches with them.
Celebrate!
If you made it this far, you're done! hand out your programs and celebrate with a nice glass of your favorite beverage. You've earned it!
Other Resources
Here are some other great DIY printing resources for more information.
